Stage 2 of 2
Install Ungodly Robot AI
Two files into one folder, one switch on your launcher, one key press to confirm. The only part with any teeth is the switch, and it gets a step to itself because leaving it off is how almost everyone's first attempt fails.
Download and unpack the archive
v1.3.0
The mod ships as a single
UngodlyRobotAI_v1_3_0.rarholding three files. Two mirrors are on the downloads page; either is the same archive.Google Drive mirror
Hosted on the author's own paid Google Drive account — not a free reupload host, no ad gate, no wait timer, and usually the faster of the two.
Download from Drive →Direct from this site
The same archive served alongside these pages, if you would rather not go through Drive at all.
Download the .rar →Extract it with 7-Zip, WinRAR or PeaZip — Windows Explorer opens
.zipon its own but does not handle.rar. Inside:- Mod-UngodlyRobotAI.dll
- The plugin itself. The
Mod-prefix is not decoration — it is the pattern OLMod scans for, so the filename must not be changed. - UngodlyRobotAI.cfg
- A pre-generated configuration file with all 175 settings at their defaults, each documented in place. Optional — the mod writes its own on first run.
- README.md
- The full technical write-up. Everything on this website is drawn from it, so you do not need to read it to install — but it is worth reading afterwards.
Copy the files into the olmod directory
The olmod directory is the folder holding
olmod.exe— which, if you followed stage 1, is the same folder asOverload.exe. Copy both files straight into it:Copy these into the folder with olmod.exe Mod-UngodlyRobotAI.dll UngodlyRobotAI.cfgLeave
README.mdwherever you like — the game never reads it.Overload\ ├─Overload.exe← the game├─Overload_Data\← the game├─UnityPlayer.dll← the game│ ├─ olmod.exe ← stage 1 ├─ GameMod.dll ← stage 1 ├─ 0Harmony.dll ← stage 1 │ ├─ Mod-UngodlyRobotAI.dll ← stage 2, the plugin └─ UngodlyRobotAI.cfg ← stage 2, your settingsthe game OLMod this modYou should see
Sorting the folder by name puts
Mod-UngodlyRobotAI.dllamong the M entries, in the same list asGameMod.dllandolmod.exe. The screenshot below is exactly that state.Arm the -modded switch
Required
OLMod only scans for
Mod-*.dllfiles when it is launched with-modded. Without it, OLMod loads perfectly and this plugin is simply never looked for — which is exactly what an install that appears to have done nothing looks like from the outside.Option A — a desktop shortcut (recommended)
- Right-click
olmod.exe→ Send to → Desktop (create shortcut). - Right-click the new shortcut → Properties.
- In Target, go to the very end — after the closing quote — add a space and then the switch.
- Apply, then OK.
Shortcut → Properties → Target "F:\SteamLibrary\steamapps\common\Overload\olmod.exe" -moddedOption B — a batch file
Create a plain text file in the Overload folder, paste in the line below, and save it as
OverloadModded.bat. Make sure your editor does not append.txtto the name.OverloadModded.bat @echo off cd /d "%~dp0" start "" olmod.exe -moddedThe
cd /d "%~dp0"line makes the batch file work no matter where it is launched from, which matters if you later put a shortcut to it on the desktop or the taskbar.Option C — through Steam
- Games → Add a Non-Steam Game to My Library
→ Browse → select
olmod.exe. - Right-click the new library entry → Properties.
- Put
-moddedin Launch Options.
Option D — Linux and macOS
Terminal, in the Overload directory ./olmod.sh -moddedYou should see
However you launch it, the command being run ends in
-modded. One space before it, nothing after it, and it sits outside any quotation marks.- Right-click
Launch the game and press F7
Start the game through whichever launcher you just armed. The mod loads during startup — you do not need to be in a level.
Press F7. The configuration panel opens over whatever is on screen.
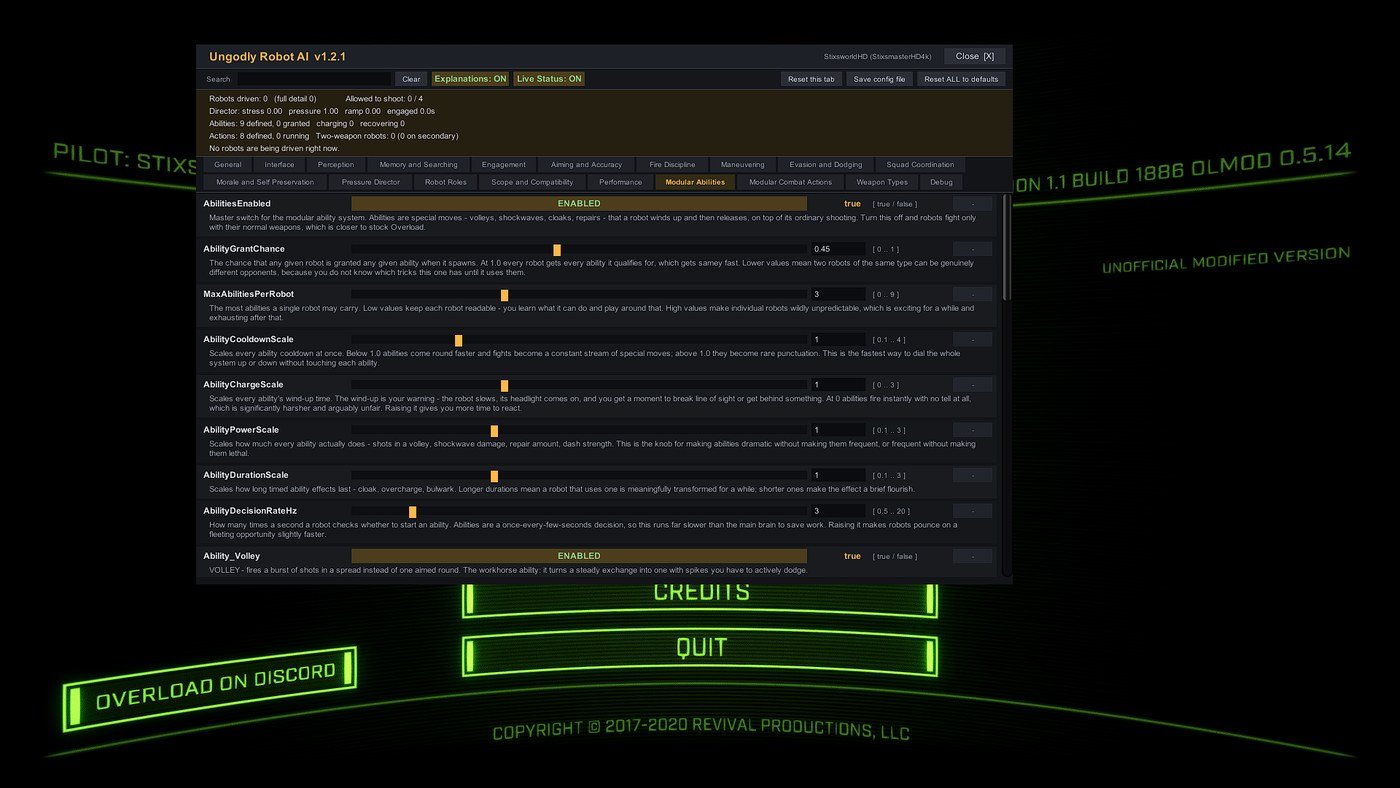
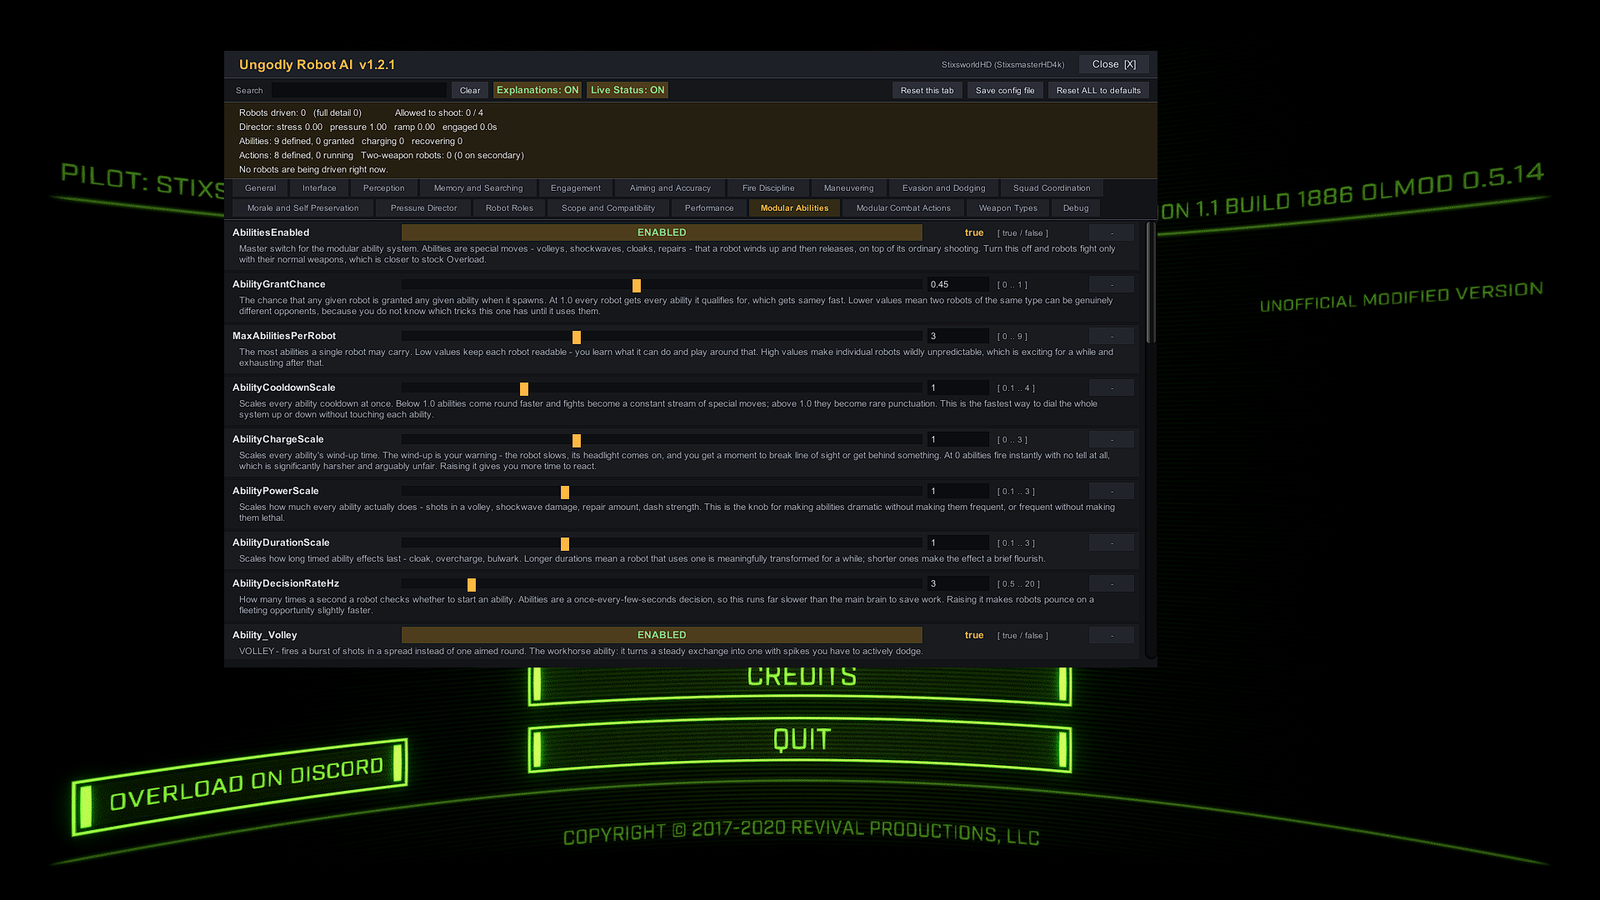
The panel on the Modular Abilities tab, one of 19. The khaki strip along the top is the live status readout — robots driven, director stress, abilities granted, actions running. Behind it, Overload's green menu chrome is reporting 1.1 build 1886 and olmod 0.5.14, which is the stage 1 verification from the other side. Screenshot taken on v1.2.1, so the panel header reads that version; later releases add settings to some tabs but the layout is unchanged. Click to open at full size. You should see
A panel headed Ungodly Robot AI v1.3.0 with a search box, a row of tabs and a status strip. If nothing happens, the switch from step 03 is the first thing to re-check — then this list.
Check the config file appeared
Optional
On first run the mod writes
UngodlyRobotAI.cfgbeside its DLL. If you copied the supplied one in step 02, it is rewritten in place — your values are preserved, and any settings added by a newer version are appended.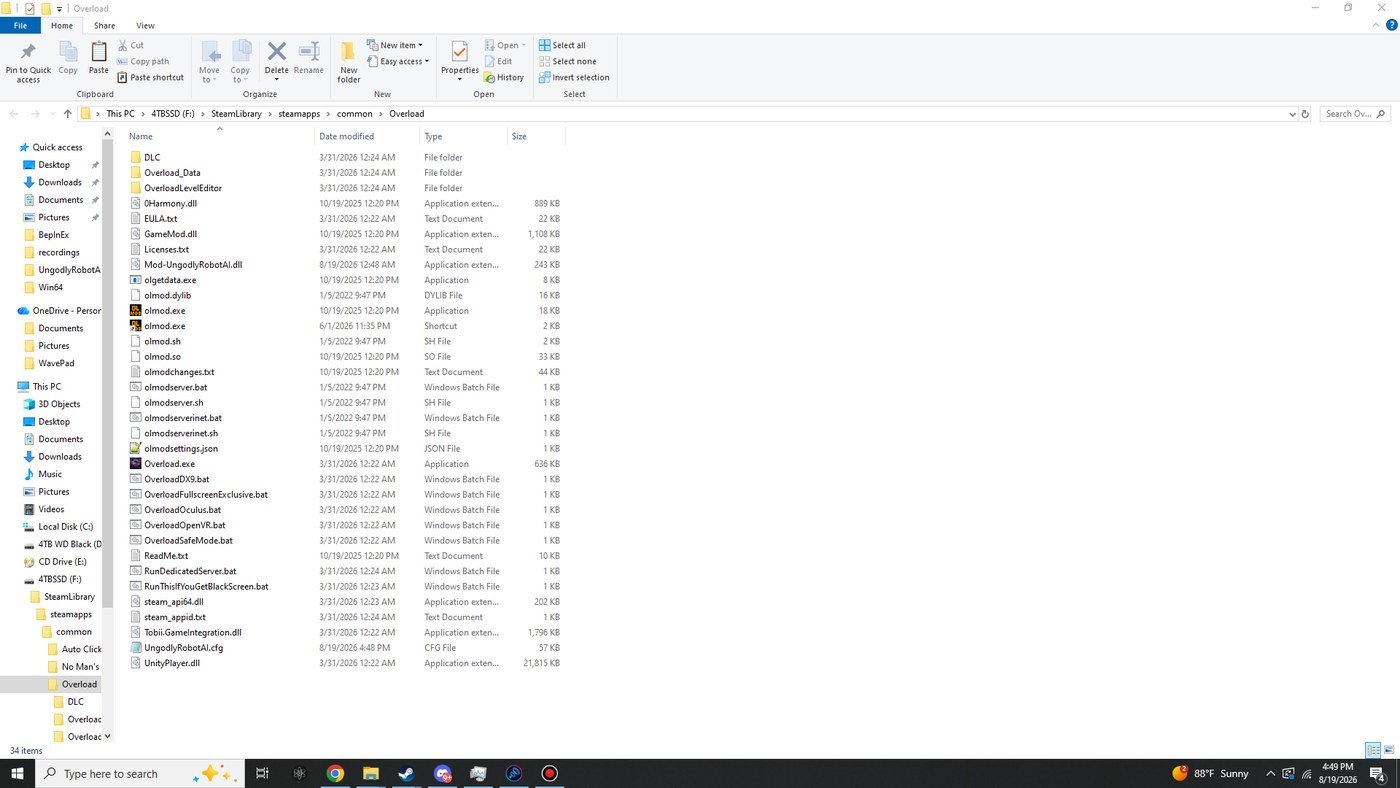
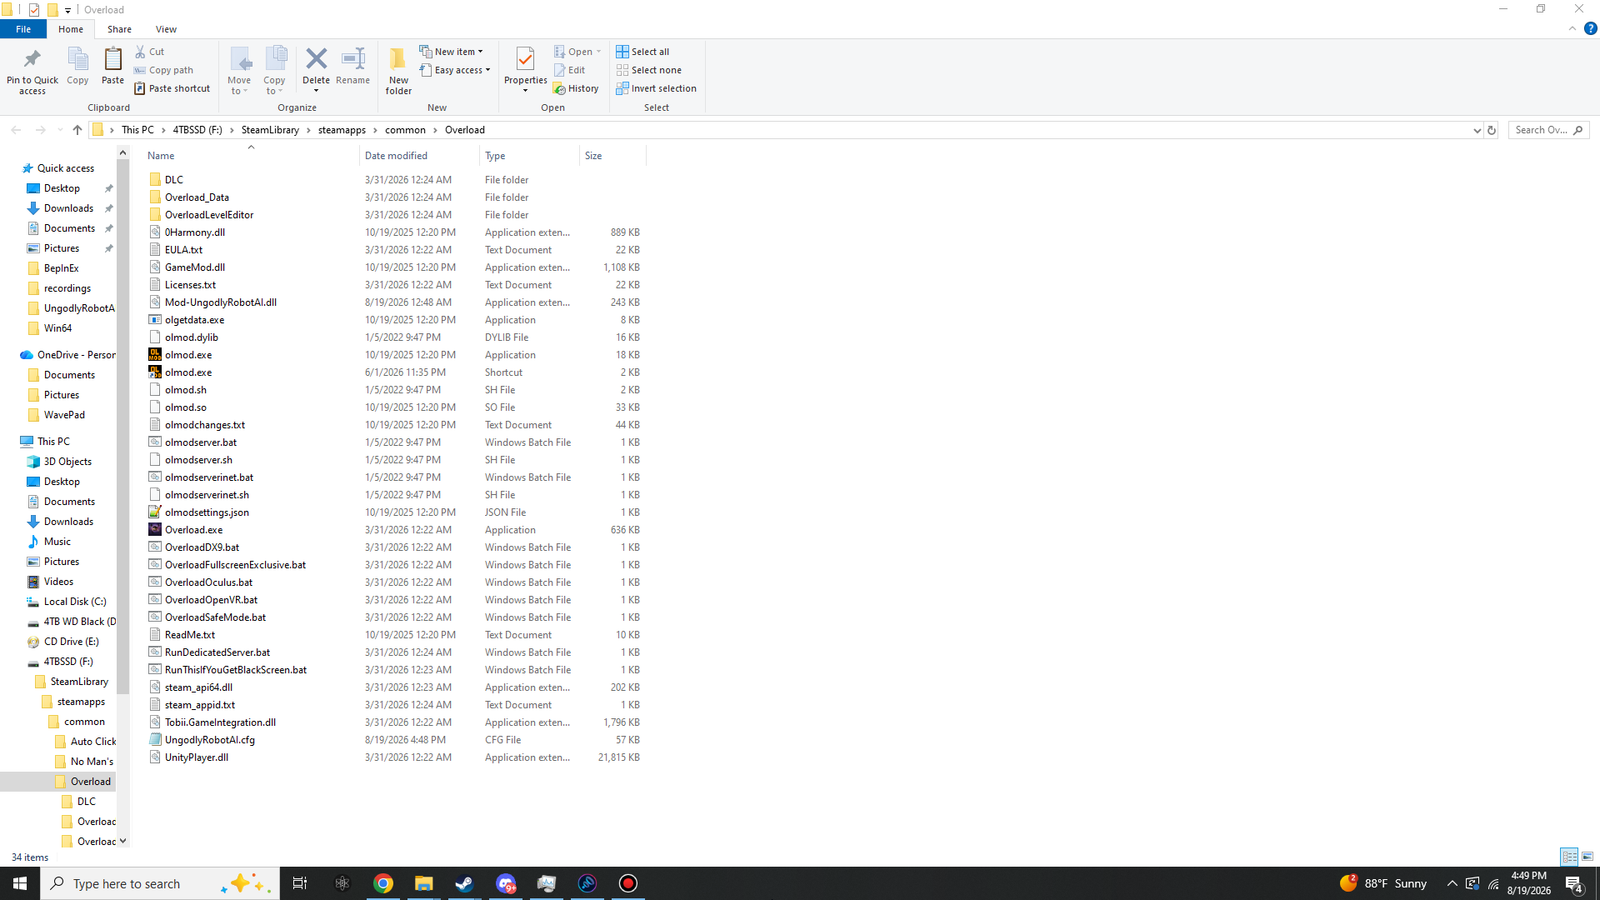
A finished install in Explorer. Mod-UngodlyRobotAI.dll and UngodlyRobotAI.cfg sit in the same list as olmod.exe,GameMod.dll,0Harmony.dllandOverload.exe— no subfolder, nothing insideOverload_Data. Note the secondolmod.exeentry typed as Shortcut: that is the armed launcher from step 03. Click to open at full size and read the paths.The file is worth opening even if you never change anything in it. Every setting carries its allowed range, its default and a plain-English explanation of what moving it does, so it reads as documentation on its own. There is a tour of it on the configuration page.
You should see
UngodlyRobotAI.cfgexists in the olmod directory and opens in a text editor as a commented INI-style file beginning with a banner for Ungodly Robot AI v1.3.0.Remove it again
There is no uninstaller because there is nothing to uninstall. Everything either stage added is a file you copied in.
- Turn it off for one session
- Launch without
-modded. OLMod still runs; the plugin is not looked for. - Turn it off without restarting
- Open the panel and set
Enabledto false on the General tab. Every robot goes back to the stock AI instantly. Useful for an A/B comparison — toggle it, fly the same corridor again. - Remove the mod
- Delete
Mod-UngodlyRobotAI.dllandUngodlyRobotAI.cfg. - Remove OLMod as well
- Delete the files listed in
stage 1,
step 03, and go back to launching
Overload.exe. - Nuclear option
- Verify the game files through Steam, GOG or Epic. The base game was never modified, so this restores nothing and simply leaves the added files behind for you to delete.